3. When Would You Use a CESA in Scuba Diving?
CESA is your go-to when:
- You run out of air and your buddy is too far away to share
- Your regulator fails and you can’t get air from any source
- You get separated from your dive group at depth with no air backup nearby
In all of these scenarios, the scuba diving emergency ascent follows the same steps, which is exactly why practicing it matters so much.
The diving CESA protocol works best at depths of 18 meters or less, which is why Open Water courses cap training dives at exactly that depth. At shallower depths, the physics work in your favor, expanding air in your lungs actually helps the ascent if you manage it correctly.
4. Is a Scuba CESA Dangerous?
This is the question everyone has, and it deserves a straight answer.
CESA done correctly is not dangerous. CESA done incorrectly, specifically, while holding your breath, can cause a lung overexpansion injury.
Here’s why: as you ascend, water pressure decreases and the air in your lungs expands. If you keep exhaling throughout the ascent (which is what CESA requires), that expanding air escapes naturally. No damage.
The danger only arises if someone panics and holds their breath, which is exactly what CESA training is designed to prevent.
The rate of ascent diving standard during a CESA is 18 meters per minute or slower, roughly the speed of your smallest bubbles. That might sound fast, but in practice it means taking a controlled, steady kick to the surface rather than rocketing up.
In short, this is a maneuver with a high success rate and a low risk of complications. The real danger does not lie in the ascent itself, but in violating the golden rule: never hold your breath.
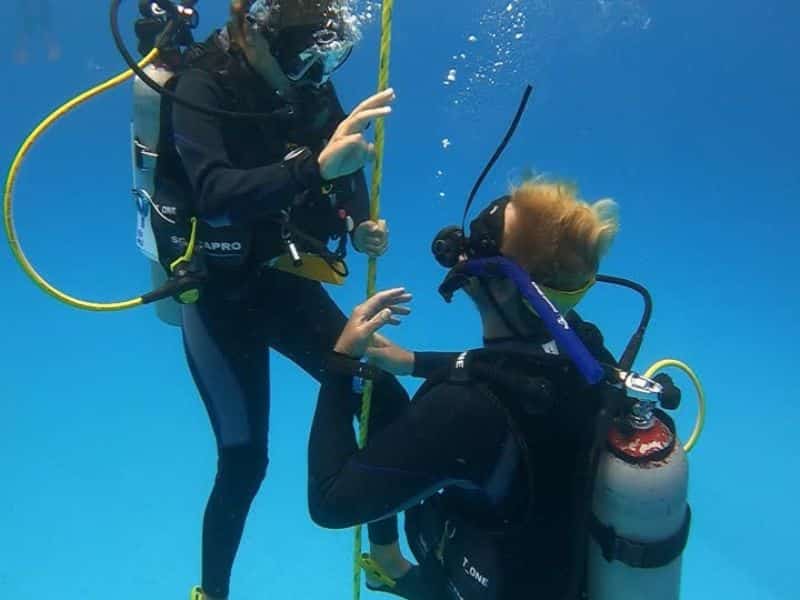
5. How to Perform a CESA in Scuba Diving Step by Step
This is the section most worth reading twice. The case scuba skill is straightforward, but only if you’ve internalized each step.
Step 1 – Look Up and Start Swimming
Tilt your head back so your airway is open, look toward the surface, and start kicking. This position lets expanding air exit your lungs naturally as you rise. One arm raised is a good habit, it protects your head and signals to any nearby boats.
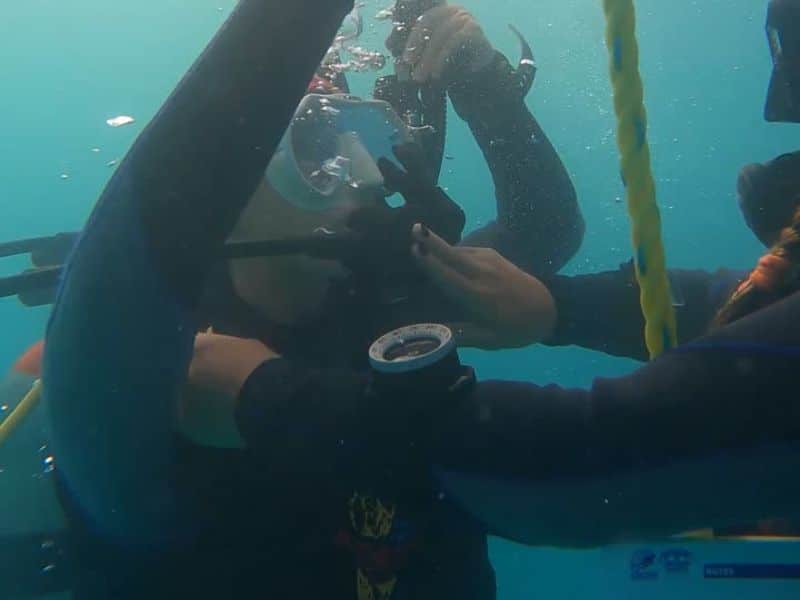
Step 2 – Exhale Continuously
This is the single most important part of scuba diving ascending in an emergency. You must exhale the entire way up. A continuous “aaahhhh” sound (some instructors call it the “singing ascent”) confirms your airway is open and you’re not holding air in.
As you rise, the air in your lungs expands, which means you’ll actually feel like you have more air to breathe out as you get shallower. This is normal. Keep exhaling.
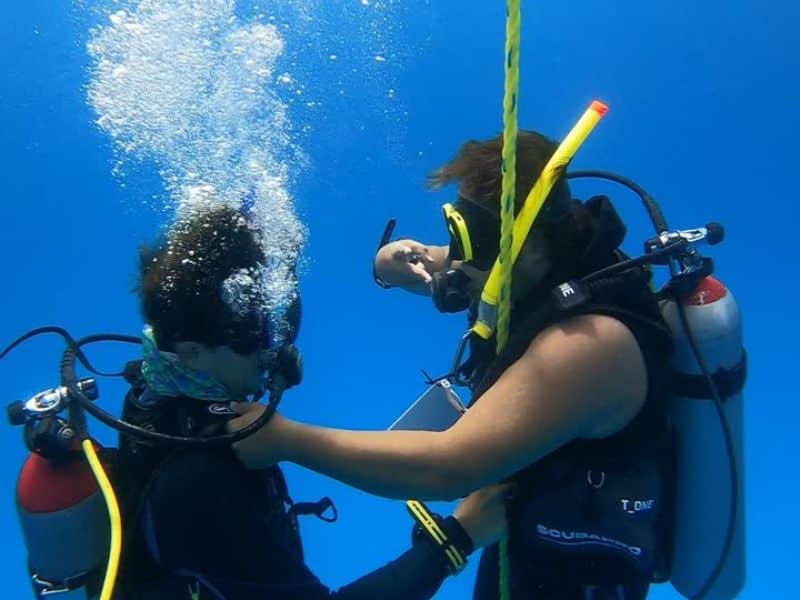
Step 3 – Control Your Ascent Rate
Scuba ascent speed during a CESA should never be faster than your smallest bubbles. If you’re moving faster, slow down. Use your fins to control vertical speed, a steady flutter kick, not a frantic sprint.
This is where the “controlled” in CESA earns its name. The instinct is to rush. The training is to resist that instinct.
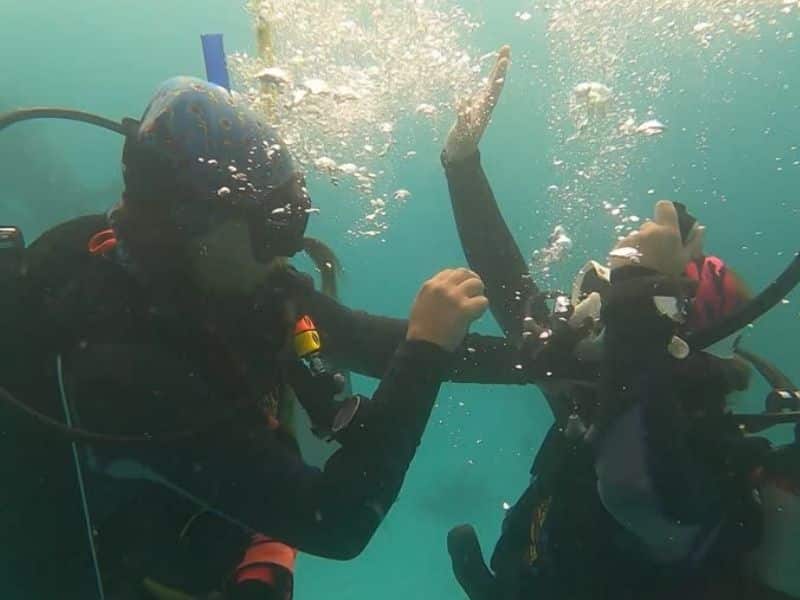
Step 4 – Surface Safely
When you reach the surface, immediately inflate your BCD orally, signal to your buddy or the boat (raised fist = OK + need assistance), and breathe normally.
The ascent emergency is over. Now it’s about staying visible and getting support.
| Stage |
Key Action |
Tool/Resource |
| Ascent |
Right arm raised |
Physical protection |
| Breathing |
Continuous “Aaaaaah” sound |
Barotrauma prevention |
| Speed |
Deflate BCD during ascent |
Dump valve / inflator hose |
| Completion |
Oral inflation |
Lungs and BCD mouthpiece |