3. How to Set Up Scuba Gear (Step-by-Step)
We’ve reached the core of the article: the practical process of assembling scuba diving equipment.
Following a logical order not only saves you time, but also helps prevent critical errors that could become apparent once you are in the water.
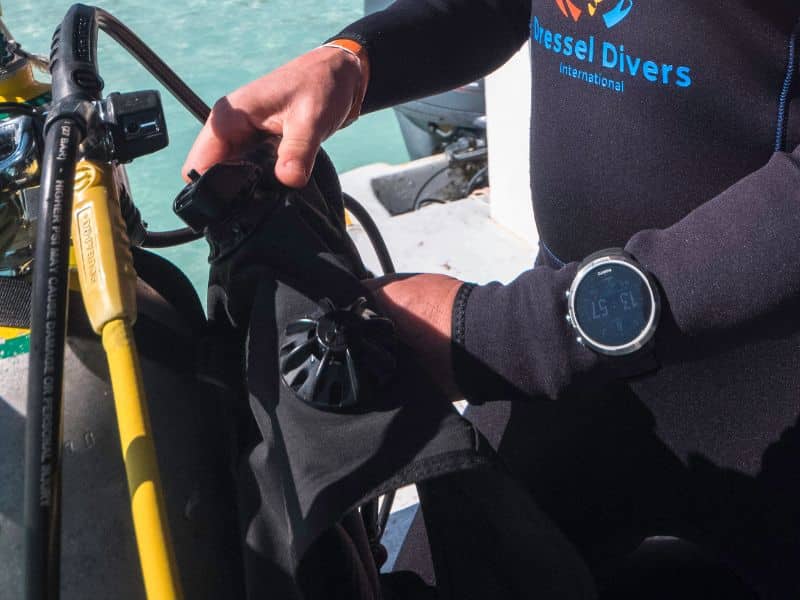
This scuba equipment assembly procedure has been standardized by the main certification agencies such as PADI and SDI, and it is the one taught in Dressel Divers courses.
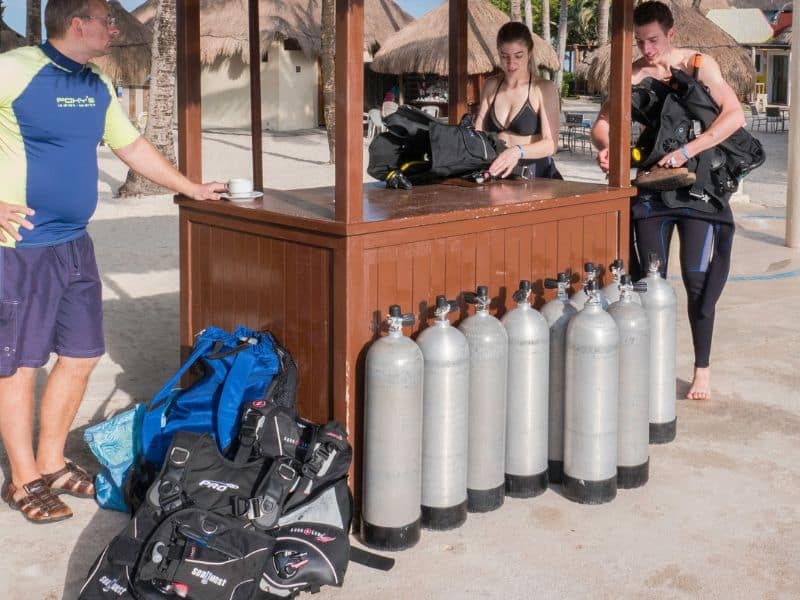
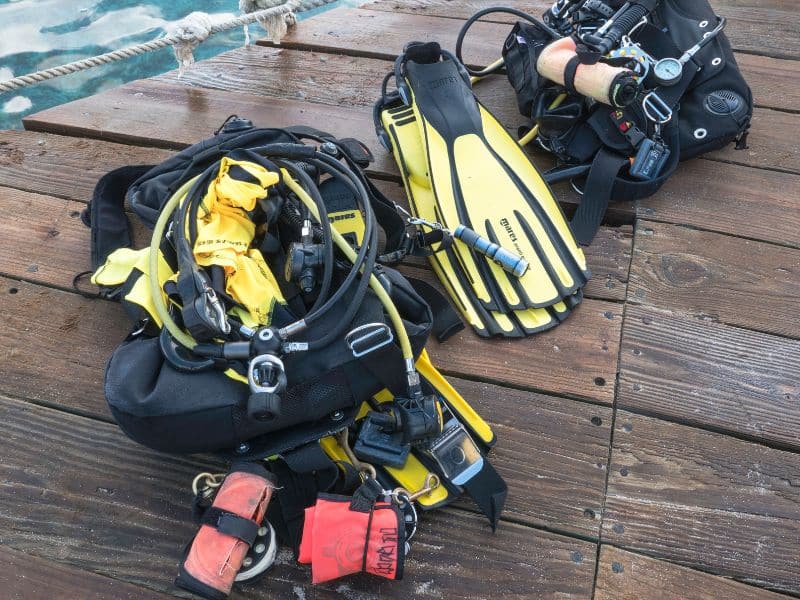
Step 1: BCD and Scuba Tank Setup
The start of any successful scuba tank setup begins with stability. Place the cylinder on a flat, stable surface. A key instructor tip is to “purge” the tank valve: briefly open and close it to release a short burst of air that removes any salt, dust, or moisture from the outlet.
To attach the BCD, slide the tank straps over the cylinder. It is essential to wet the BCD strap before tightening it; nylon expands when wet, and a strap tightened dry may loosen underwater, causing the tank to slip.
Step 2: Secure and Align the Tank
Alignment is key to an ergonomic dive gear setup. The BCD should be centered relative to the tank valve. The ideal height is with the top of the BCD level with the base of the tank valve, or approximately four finger-widths below the opening.
If the tank is positioned too high, the regulator’s first stage may hit the diver’s head during the dive. If it is too low, the center of gravity will shift, making it harder to maintain a proper horizontal trim. Once aligned, close the cam band buckle and test the setup by lifting the BCD by its handle; the tank should not move at all.
Step 3: Scuba Regulator Setup
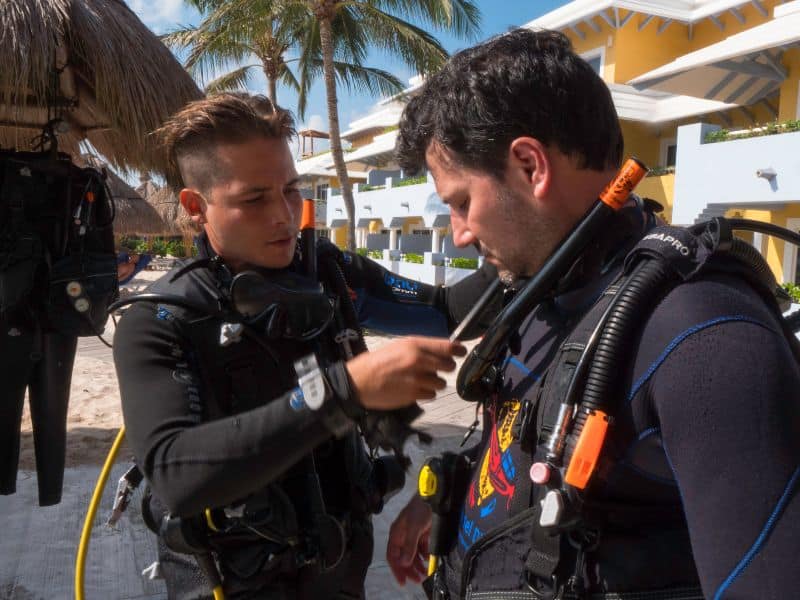
In regulator setup, orientation is critical. Remove the dust cap from the first stage and ensure the tank O-ring is present, clean, and free of cracks. Position the first stage on the valve so that the primary second stage and octopus hoses route over the diver’s right shoulder, while the SPG and inflator hose route over the left.
When tightening the yoke screw, use only your fingertips. Regulator setup does not require excessive force; air pressure will seal the connection once the tank is opened. Overtightening can make disassembly difficult due to pressure and thermal expansion.
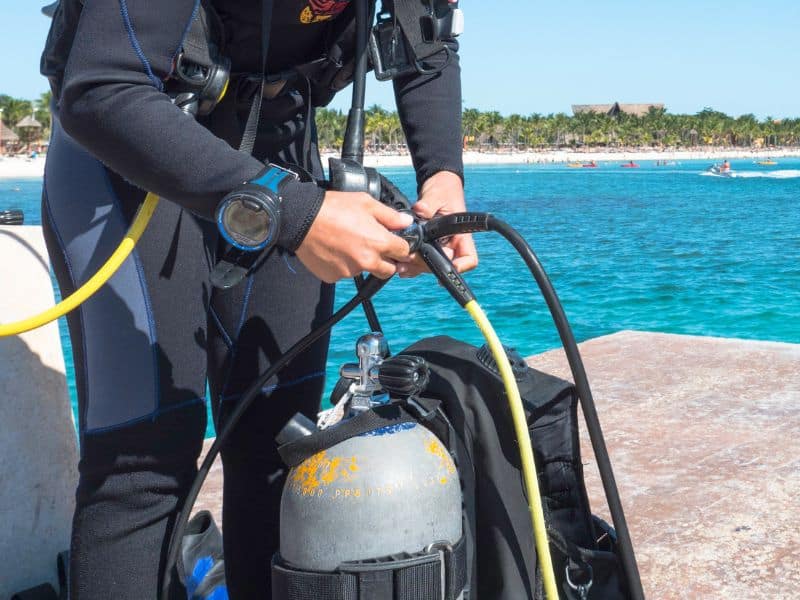
Step 4: Connect Hoses and Inflate the System
Continue the setup by connecting the low-pressure inflator hose to the BCD. Gently pull on the connection to confirm the quick-disconnect is properly secured. At this stage, it is advisable to organize the hoses so the configuration is streamlined, avoiding dangling elements that could damage coral or become entangled.
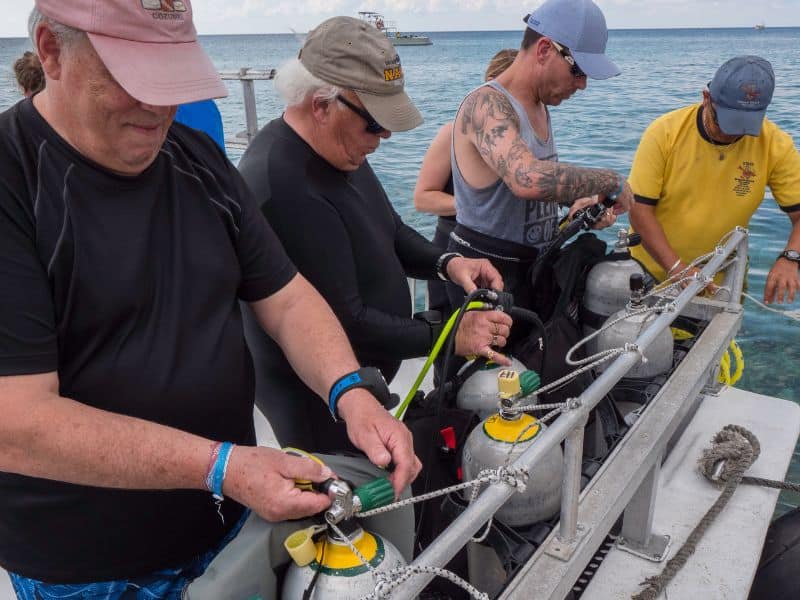
Step 5: Open the Tank Valve Properly
This is a critical safety step. Hold the SPG away from your face, preferably pointing downward or toward the inside of the BCD. This is a precaution in the highly unlikely event that the gauge face fails under sudden pressure.
Open the valve slowly until you hear the system pressurizing and see the gauge needle rise. Once the pressure stabilizes, open the valve fully. In the past, it was recommended to turn it back half a turn after fully opening, but modern standards state the valve should remain fully open to avoid confusion and ensure maximum airflow at depth.
Step 6: Check Air Supply and Pressure
Once your system is pressurized, perform a breathing test. Take two or three deep breaths from the primary regulator while watching the SPG needle. If the needle fluctuates or drops with each inhalation, the valve may not be fully open or there may be a restriction in airflow. Repeat the process with the octopus to ensure both regulators function properly.
Step 7: Final Pre-Dive Safety Check
The final step is the buddy check, using the BWRAF method:
B (BCD): Check that the inflator and dump valves are functioning.
W (Weights): Confirm that the weight system is secure and has a quick-release mechanism.
R (Releases): Ensure all BCD buckles are fastened and unobstructed.
A (Air): Verify tank pressure and regulator performance.
F (Final Check): Make sure mask, fins, and dive computer are ready.